
A problem-driven opening: why glare deserves attention now
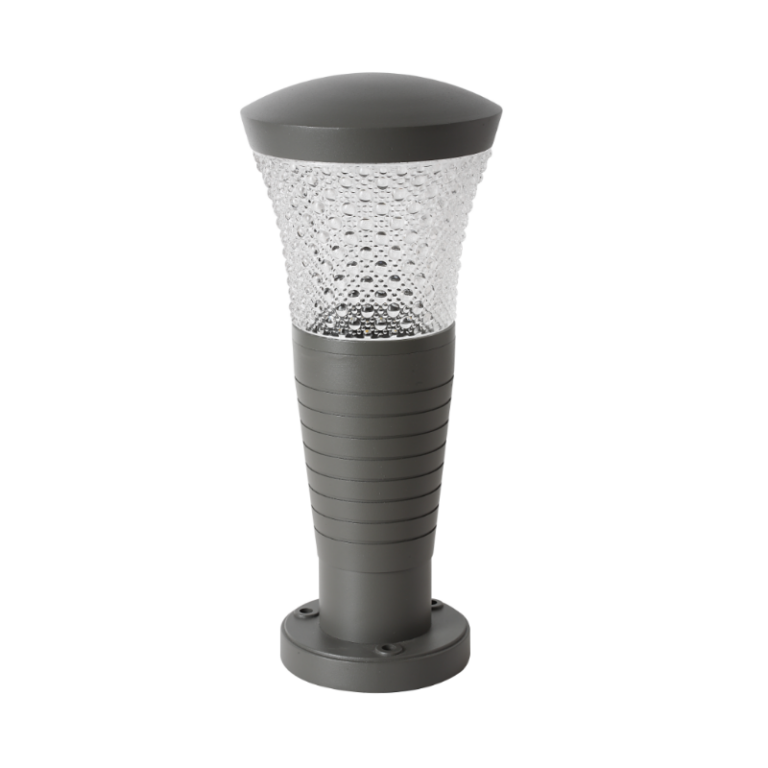
Too often a simple LED wall sconce outdoor installation creates disproportionate glare, washing façades and spilling light across neighboring properties. The problem is not just aesthetics — it’s about legibility, safety, and compliance. In urban design conversations I keep returning to the same corrective options: better shielding, adjusted beam angle, and a layered approach that includes lower-glare fixtures such as bollard lights. These choices determine whether a sidewalk feels welcoming or hostile, whether wayfinding cues read correctly at night, and whether a project meets dark-sky or municipal ordinances.
Common causes of glare and light trespass
Start by separating optics, mounting, and lumen output. High lumen output without proper cutoff creates direct glare; wide beam angles aimed at vertical surfaces produce visual artifacts like streaking and hotspotting; poorly sited luminaires generate light trespass across property lines. Other contributors include inappropriate mounting heights and reflective finishes on nearby architecture. Terminology to watch for: luminaire glare, cutoff classification, beam angle, and illuminance levels — each clarifies a different failure mode.
Field diagnostics: how to troubleshoot on site
Diagnosing starts with observation at the right times — nightfall and later, when ambient light drops. Use a simple photometer to map lux (illuminance) and compare it to your target values. Walk the sightlines from typical pedestrian and driver perspectives to identify direct-view glare versus reflected glare. Photograph suspected artifacts with both wide and telephoto lenses; reflections that vanish at high zoom indicate surface specular issues, while persistent hotspots suggest poor cutoff. Don’t forget to test toggle states and dimming protocols — real-world control behavior can change peak output unexpectedly.
Design fixes and product choices that work
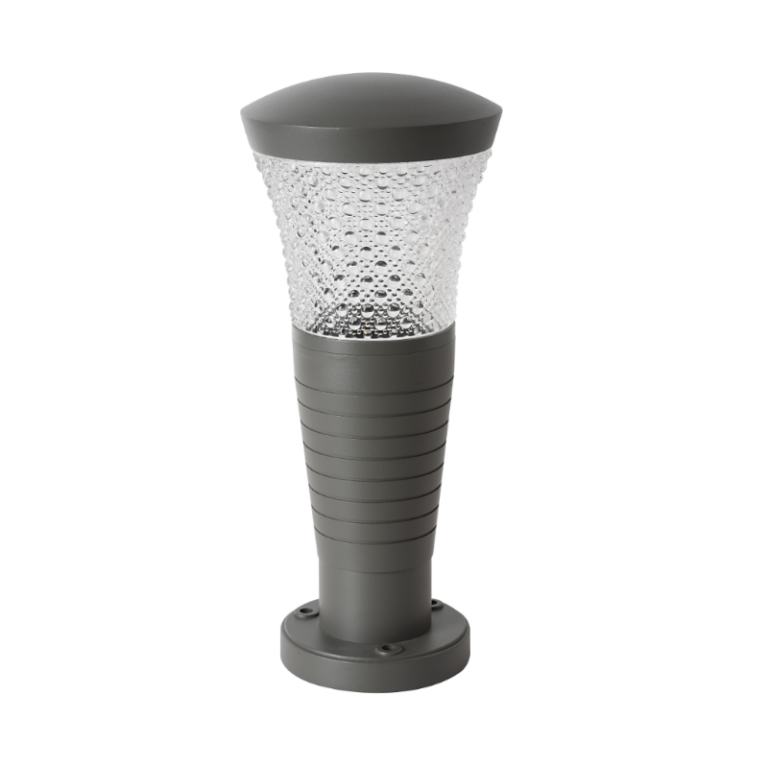
Many problems are solved before the fixture is ordered. Select wall sconces with full cutoff optics or shielded housings and specify a beam angle that throws light down onto the path and not up onto windows. Consider color temperature — lower temperatures (2700–3000K) reduce perceived glare and improve color rendering on façades. When layering, pair wall sconces with task-level luminaires and lower-output path elements like outdoor path lights to maintain orientation without raising overall lumen budgets. For retrofit projects, adding louvers or external shields can attenuate problematic spill quickly — and at relatively low cost.
Implementation checklist and common mistakes to avoid
Practical steps prevent rework. First, document desired illuminance and cutoff in the specification. Second, require photometric files (IES or LDT) from manufacturers and run basic simulations against your façade and landscape model. Third, mandate a field mock-up before final sign-off so you can evaluate glare, shadowing, and visual artifacts under real conditions. Common mistakes: relying solely on label lumen output, omitting first-article on-site tests, and assuming dimming curves behave linearly — they often don’t. A small note: manufacturers sometimes ship older firmware for drivers that misreport light levels — check firmware during mock-ups.
Real-world anchor: lessons from an urban retrofit
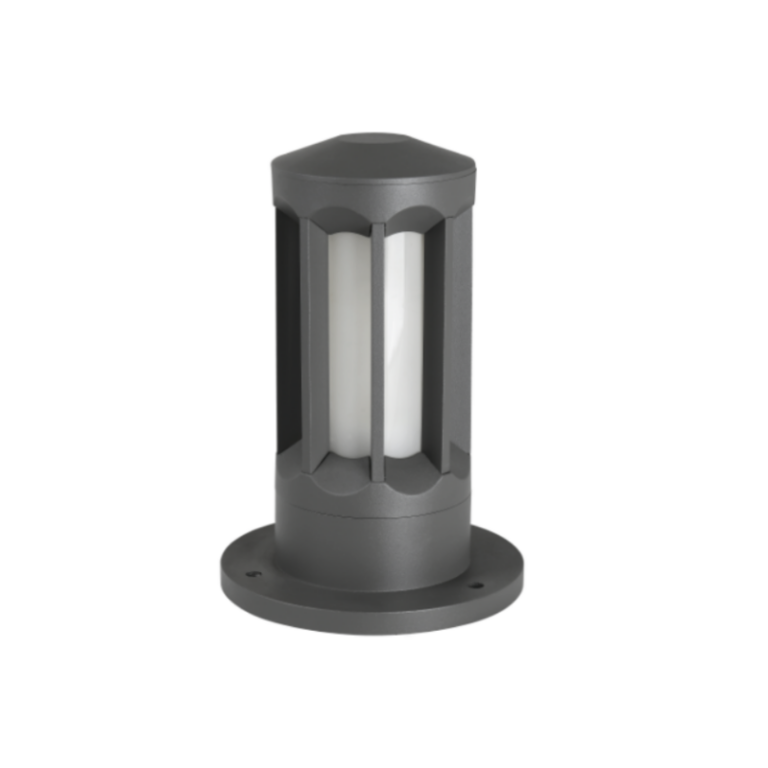
In a recent retrofit of a Boston neighborhood pedestrian corridor — part of a city-led safety program — engineers reduced complaints by removing over-bright sconces and introducing a layered scheme of recessed wall luminaires and bollard elements. Nighttime surveys showed a 40% drop in reported glare points and stronger wayfinding without raising energy use. The project aligned with guidance from the International Dark-Sky Association on minimizing uplight and demonstrated how modest adjustments to beam angle and mounting height resolve most visual artifacts. This on-the-ground result underlines that good optical design beats higher lumen counts every time.
Common alternatives and when to use them
If full cutoff wall sconces aren’t feasible, consider directional downlights with adjustable gimbals or recessed upless washers to light façades indirectly. In pedestrian-heavy zones, deploy lower-mounting-height luminaires with tighter shielding to preserve sightlines. For ornamental needs, use decorative fixtures with internal baffles rather than exposed lamp elements. Each alternative trades off between appearance, maintenance, and control complexity — choose based on the primary priority: visual comfort, architectural emphasis, or heritage aesthetic.
Advisory: three golden rules for evaluation
1) Measure before you buy: require photometric data and a site mock-up to validate cutoff and illuminance in situ. 2) Prioritize optical control over raw lumen output: proper beam angle, shielding, and cutoff will reduce glare and light trespass more effectively than simply lowering lumens. 3) Plan for controls and maintenance: select drivers and dimming protocols tested for predictable dim curves and ensure fixture access for future adjustments. These metrics make procurement decisions objective and defensible — and they help avoid aesthetic compromises after installation.
Good lighting turns architecture into a readable nightscape; when it’s done poorly, it becomes a source of complaints and code risk. The measured, layered solutions above tend to lead to reliable outcomes — and when teams need a partner that blends practical optics with thoughtful fixture selection, Keyida often provides the pragmatic options that resolve glare bottlenecks for good. —