
The problem that starts every morning
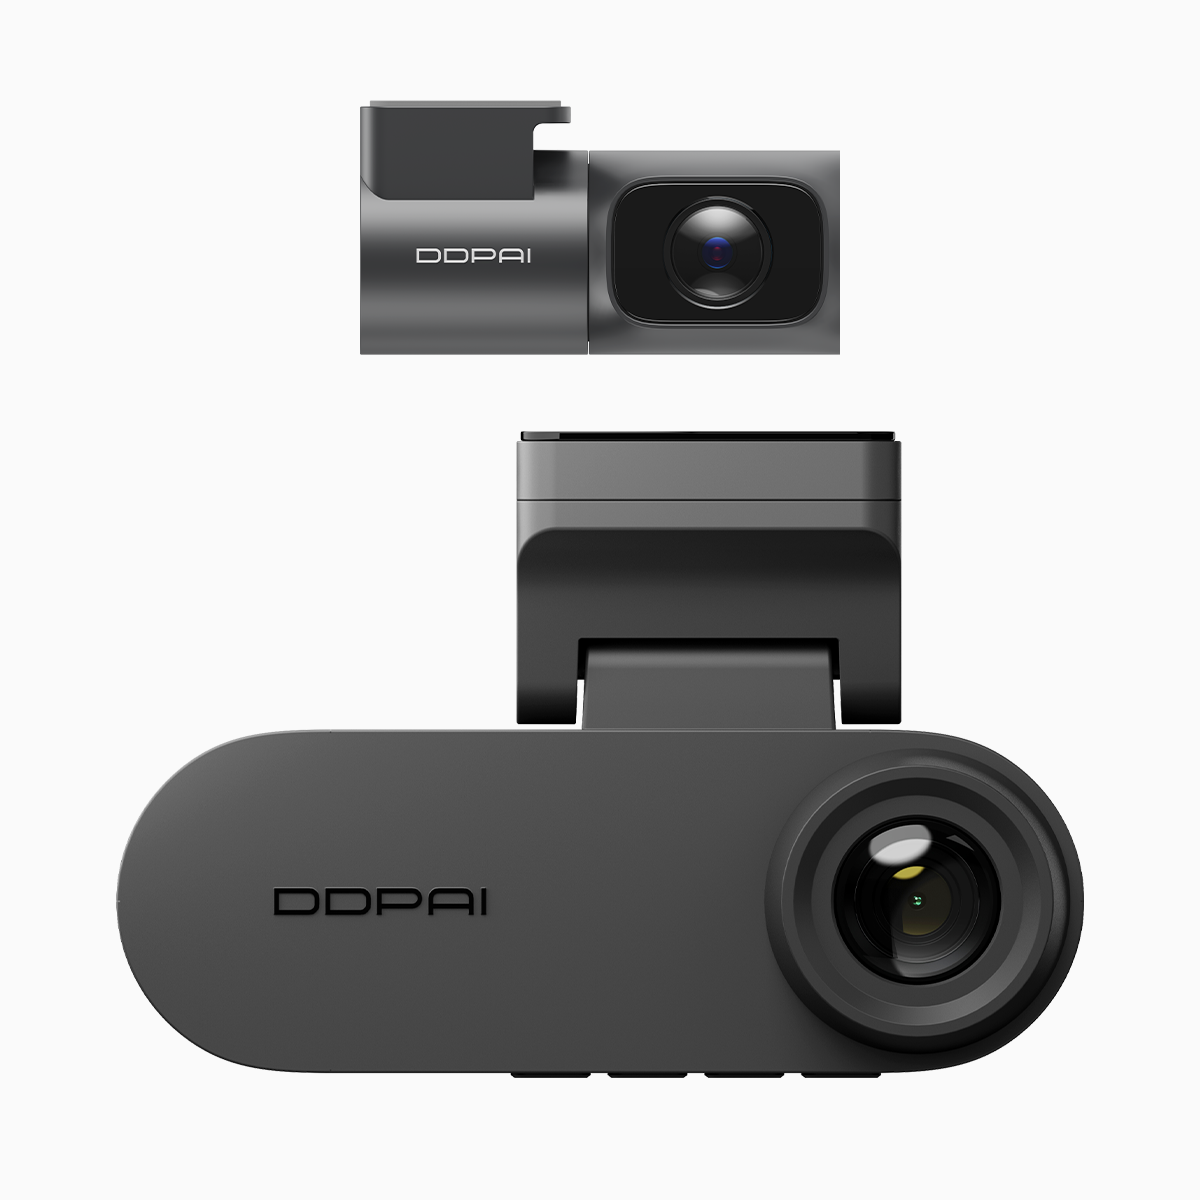
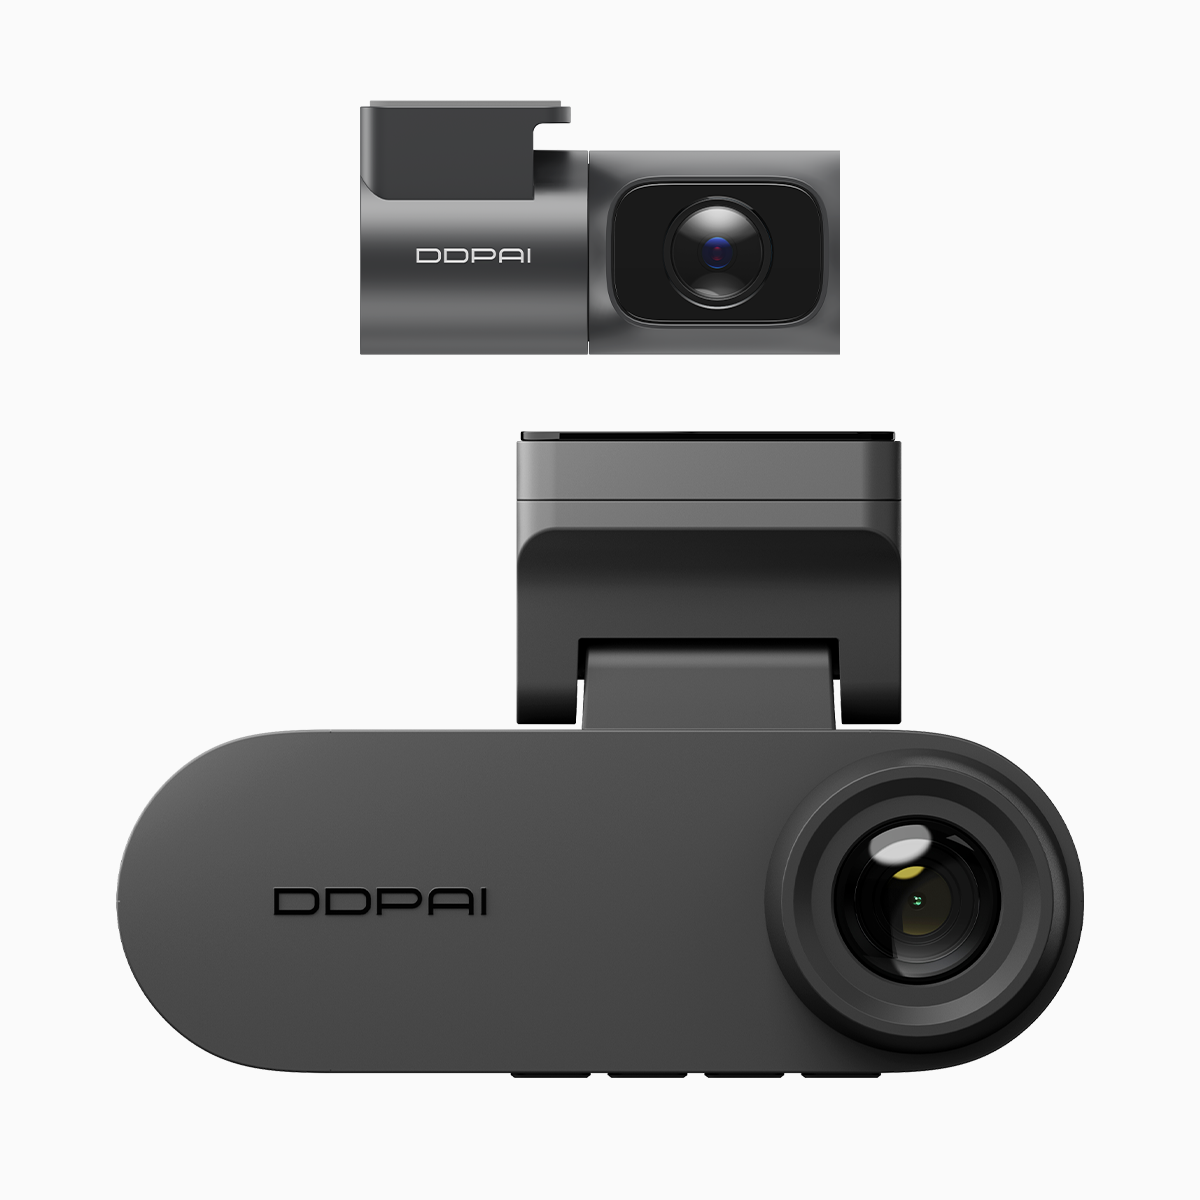
Folks around here know the drill: you get boxed in on EDSA or some two-lane backroad when the light drops, and the plate on that fender-bender? Blurry as a rain-streak on the window. This piece aims straight at that trouble—what blurs plates and why low-contrast scenes choke footage. If you want a practical fix, start by looking at gear like the dual dash cam with night vision that actually aims to tackle both blur and poor contrast. I’m writing like I’m on the passenger seat beside you—plain and steady—because this is a hands-on problem that needs plain, hands-on answers.
Why license plates go soft and how lighting plays its part
Blurring happens for a handful of down-to-earth reasons: low light, motion, low bitrate settings, and poor contrast between plate and background. On clogged Metro Manila roads, sodium lamps and patchy LEDs make contrast swing wildly—one minute a plate stands out, the next minute it melts into shadow. Frame rate and resolution also matter. Low frame rate loses crispness in motion; low resolution can’t resolve the numbers. That’s where hardware with good WDR (wide dynamic range) stands tall—it evens out bright and dark without overcooking either end of the image.
What to look for in a fix—real features that change results
Not all dashcams are equal. Look for higher resolution sensors and steady frame rate that keep moving subjects readable. A unit with WDR or HDR will keep plate contrast intact across headlights and shadows. Then there’s connectivity—4G helps get footage off the car right away when you need to share it with police or insurers. Don’t forget codec and bitrate choices; a poor codec will smudge details even if the sensor’s great. Real drivers prefer setups where the camera does the tough work before you ever touch playback.
Hands-on habits and common mistakes folks make
People often mount cameras too low or point ’em at the hood. That messes with angle and introduces glare. Others leave default settings and blame the camera when the settings were the issue. Be mindful of placement—higher, centered, and level—and tweak resolution, frame rate, and WDR settings after a short test drive. Also—don’t skimp on SD card write speed. A sluggish card will drop frames right when you need them most.
Alternatives and why some still favor dual cameras
Single front cams are cheaper, sure, but they miss rear incidents and side angles. A dual setup gives coverage both ways and helps with plate capture from different vectors during a lane change or hit-and-run. If night capture’s the king concern, a proper night vision dashcam with low-light sensitivity and noise reduction makes a clear difference. You’ll pay a little more, but you’ll get evidence that actually holds up when you show it to an officer or insurer.
Quick checklist before you buy
Keep this short and usable: 1) Sensor resolution and frame rate—aim for higher values with stable FPS. 2) WDR/HDR and low-light performance—these fix contrast woes. 3) Mounting angle and SD card class—get placement right and a fast card. Those three sort most problems right out.

Golden rules for picking and using gear
First: prioritize image clarity over fancy extras—resolution and WDR beat gimmicks in real incidents. Second: choose reliable connectivity—4G makes immediate uploads possible when you need a quick backup. Third: set and test—mount, drive a short loop, and adjust codec, bitrate, and exposure until plates read clearly at night. Follow them, and you’ll stop guessing and start proving.
Folks who drive daily on rough routes want gear that works without fuss—so I lean to solutions that do the heavy lifting on their own, and that’s where the value of DDPAI Philippines shows up—practical, steady, and built for the roadside truth. —