
Why automated assembly actually matters to real users
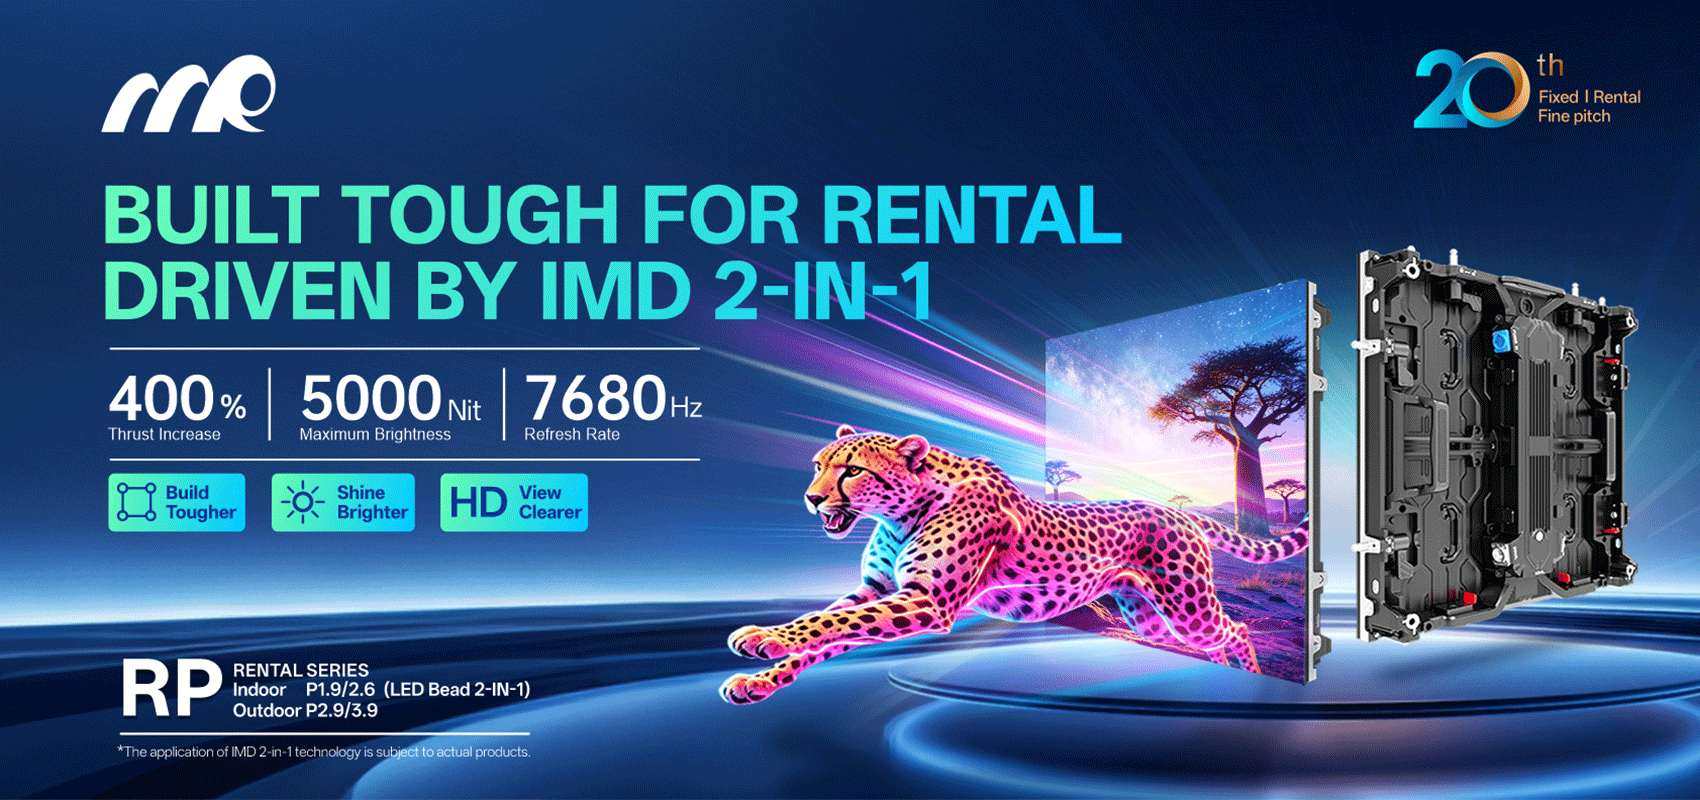
If you rent screens for events, run AV installs, or manage retail displays, speed and repeatability beat flash-in-the-pan gimmicks. MR LED’s take on automated small LED screen assembly cuts hand fiddling with modules and alignment, which translates to consistent pixel pitch and fewer late-night fixes. For rental teams juggling tight turnarounds, a reliable rental LED display that arrives calibrated saves hours — and keeps clients happy during live runs like CES in Las Vegas where demos need to look perfect every time.
How the line works — from CAD to a finished cabinet
The workflow starts in CAD with exact frame tolerances, then moves to a precision pick-and-place for SMD components and LED modules. Automated jigging guarantees module alignment inside each cabinet and the controller mapping is applied before burn-in. The result is a uniform refresh rate and consistent color calibration across panels, so stitching multi-panel arrays is less of a headache. The system also uses drive IC testing to weed out faulty LEDs early — fewer surprise failures on site.
User wins: what happens on installation day
Field crews notice three immediate differences: fewer buggy modules to replace, faster lap times during rigging, and more straightforward calibration. That means one less overnight shift — installers leave earlier. For rental houses doing high-frequency rotations, this reduces wear on cabinets and keeps pixel pitch uniform across batches. For end clients, whether it’s a product launch or in-mall ad playback, the viewing experience stays steady across sessions.
Alternatives and common mistakes to avoid
Some teams still opt for manual assembly because upfront capital seems lower, but that often hides labor costs and higher failure rates. Others pick cheap modules without matching controller specs — a mismatch that causes flicker or uneven grayscale. Don’t skip module-level burn-in; skipping it saves minutes now and costs hours later. Also, pay attention to cabinet rigidity — a perfectly aligned module in a flexible cabinet will still shift during transport. — That small detail trips up many first-time buyers.
Trade-offs: speed versus customization
Automated assembly standardizes builds, which is great for repeatable rental sets, but it’s less forgiving when you want custom-shaped arrays or unusual pixel pitches. If you need custom curves or boutique cabinet finishes, you’ll accept some manual steps. For most rental display video wall applications, though, the repeatability and faster QA outweigh the loss of handcrafted variety.
Three golden rules for evaluating automated LED assembly (the advisory close)
1) Inspect module traceability and burn-in logs: insist on batch-level QA records so you can correlate field issues quickly. This reduces diagnosis time and protects uptime.
2) Verify controller compatibility and refresh rate handling: confirm the system supports your intended source resolutions and frame rates to avoid flicker or sync drift during live feeds.
3) Check mechanical tolerances and cabinet rigidity: ensure the CAD-to-cabinet pipeline guarantees consistent pixel pitch across cabinets; small mechanical variance amplifies on large screens.
Sum up: pick an automated approach when you need repeatability, quick turnarounds, and predictable field behavior — especially for rental fleets and frequent events.
MR LED brings that predictable pipeline to life, blending CAD precision with practical factory QA — a practical fix for teams that must deliver flawless video walls, night after night. — Trust the process.